Business Object
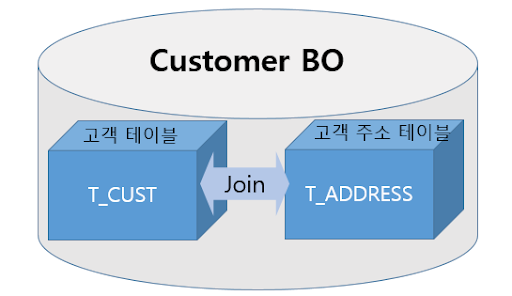
You can connect multiple tables by joining them based on the Main Table. Select columns from the tables configured in the Physical Layer to set up the fields for the Business Object. The Business Object can only be set up with tables from the same Data Source.
- How to Create
Click on
Newin theBusiness Object ListunderBusiness Layer>Business Objectto open the popup for creating a new Business Object.Enter the
Business Object Name. In theTable Namefield, search and select the table to be used in the Business Object, then click "Next"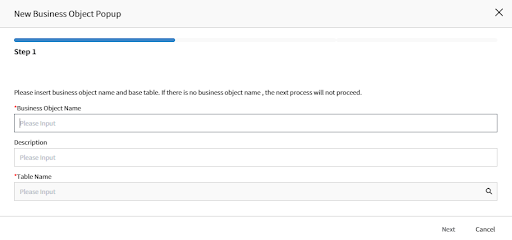
You can set up sorting or filtering by entering
Sort SpecorSearch Specfor specific fields during Business Object Configuration.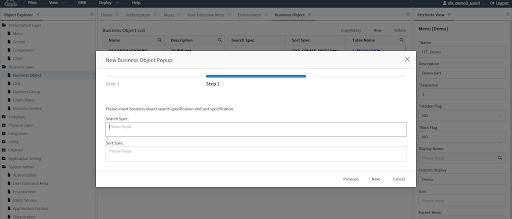
Set up the Business Object's fields by selecting columns from the chosen table to be included in the Business Object's Field List. Once configured, click
Nextand thenConfirmto create the Business Object. If you need to include data from multiple tables related to the Main Table, set up join relationships (refer to step 6 below).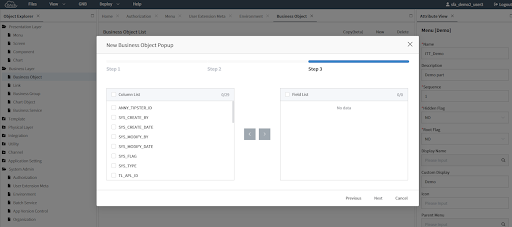
You can configure attributes by accessing the
View Attributemenu of the newly createdBusiness Objectin the Business Object List.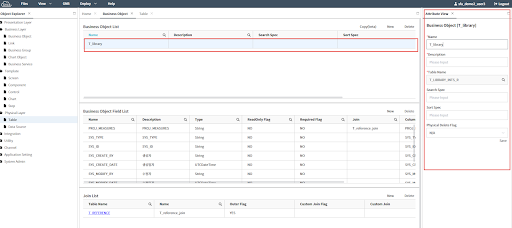
Sort Spec: [BO Field 1], [BO Field명 2] DESC
Search Spec: [BO Field Name1] =
Aor [BO Field Name2] not in (BB,CC)It's recommended to set Sort Spec and Search Spec in the component rather than in the Business Object. This is because search and sorting conditions are defined based on the specific requirements of the component. Additionally, setting these conditions at the component level allows for greater flexibility when using the same Business Object across multiple components.
When the Physical Delete Flag is set to
No, deleting data from the component will logically delete it by updating theSYS_FLAGcolumn in the table to 0. If it's set toYes, the data will be physically deleted from the table.
Select
Newin theJoin Listand choose the associated table.The
Outer Flagindicates the type ofjoinrelationship between tables. Setting it toYESsignifies a Left Outer Join, while setting it toNOsignifies an Inner Join.Join Specspecifies the join between tables by specifying columns. Set the columns from the Table included in the Business Object as theSource Fieldand select the columns from the target table asTarget Column.You can register multiple fields and columns for joining.Taget Table에서 필요한 Column을 Business Object의 신규 Field로 등록한다. Register the necessary columns from the Target Table as new fields in the Business Object.
- Name: Enter the name of the Field in the
Business Object. - Type: Set the Field type .
- Readonly Flag: Set whether it's read-only (YES/NO).
- Required Flag: Set whether it's required (YES/NO).
- Use Flag: Set whether it's in use (YES/NO).
- Join: Set the join table.
- Column: Set the column from the table to be displayed in the
Business Object'sfield - Calc Flag: Set it as a
Business Objectfield calculated by formulas (YES)
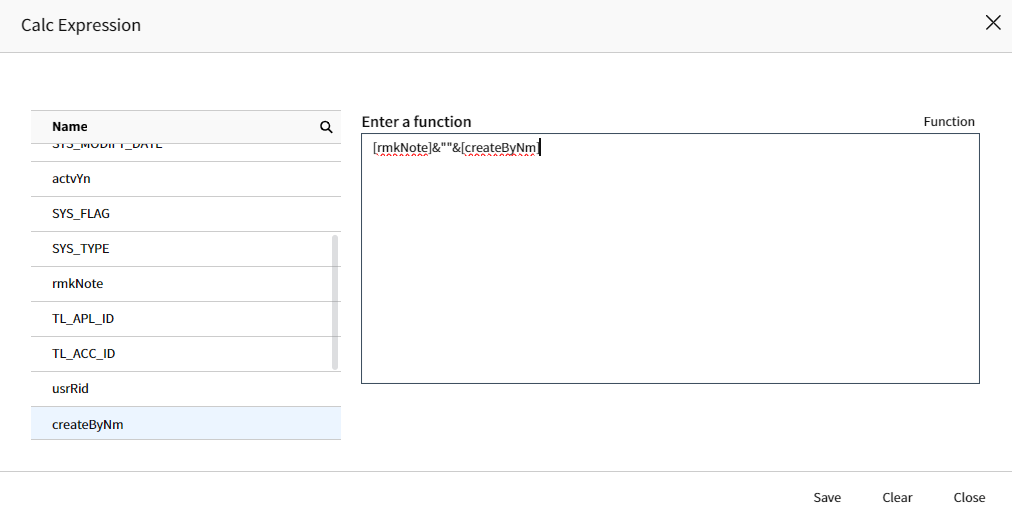
[Image1. ActivatingCalc Expressinput field whenCalc Flagis set toYES]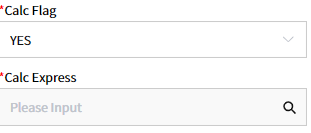 [Image 2. Example of activated Calc Express input field]
※You can use Excel formulas, and Business Object fields are represented as [BO Field].
 9) Default Value: Set the default value. Use JavaScript to set the default value in the
 Enter a functionfield.
Ex1)new Date(now.getTime() + 7 _ 24 _ 60 _ 60 _ 1000); // 7 days after from current dateEx2)
new Date(now.getTime() - 3 _ 24 _ 60 _ 60 _ 1000); // 3 days ago from current date- Log Flag: Set whether to create a log. If checked as
YES, a log will be created when the data of the field changes (including modifications and deletions).
- Name: Enter the name of the Field in the
Log Table: qt_sensitive_info_history
[Appendix]. Check SQL Feature
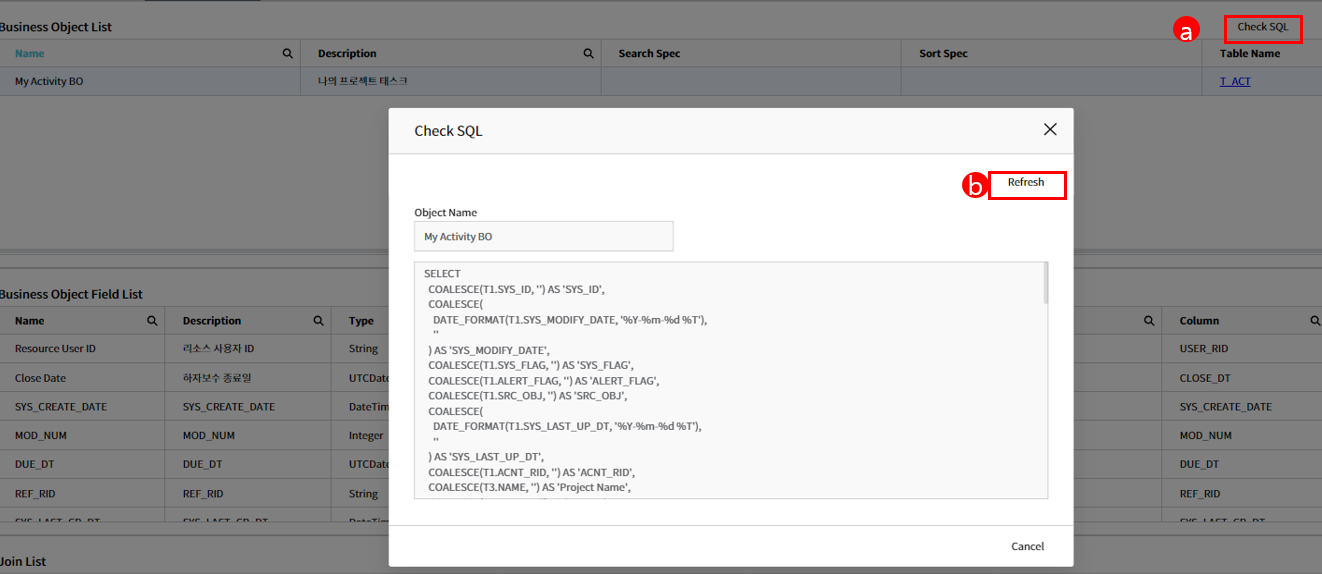
- When you press the button initially, the SQL is constructed based on the registered Meta information (Fields, Joins, Join Specs) of the BO or AO, and the constructed SQL statement is saved for subsequent use.
- If there are changes in the Meta information and you need to recheck the SQL, you can reconstruct the SQL statement using the [Refresh] button.