Check-in, Check-out
In CALS, a collaborative development environment is provided to ensure that development content does not overlap even when multiple developers are working simultaneously. When a developer works in Studio and saves an object, the object is automatically checked out. In other words, it appears as locked to other developers.
Check-out occurs automatically when an object is created or modified and saved without a separate menu. Until all development work is completed (before Check-in), the developer who first saved the object has ownership. Once an object is locked, other developers cannot modify it until it is checked in.
Existing development objects cannot be modified by other developers when they attempt to edit them, as a message indicating that the object is locked is displayed. New development objects are not visible to other developers until they are checked in. Once a Check-in is performed, the lock on the object being worked on is released, and it can be deployed or viewed by other developers, thus completing the preparation stage for development and deployment.
For newly developed objects such as Menu, Screen, Component, Control, etc., permissions must be granted in System Admin > Authorization to use them in the application. If permissions are not granted for objects like Hidden Control, errors may occur as business functions will not be applied. Permission granting can also be done after Check-in.
- How to Create
When development is complete, select Deploy > Check In in CALS Studio.
Check the list of items I have developed in the popup and
Check In. However, if an object has been deleted during development, it will not appear in the Check In List, but it will still be applied when checked in.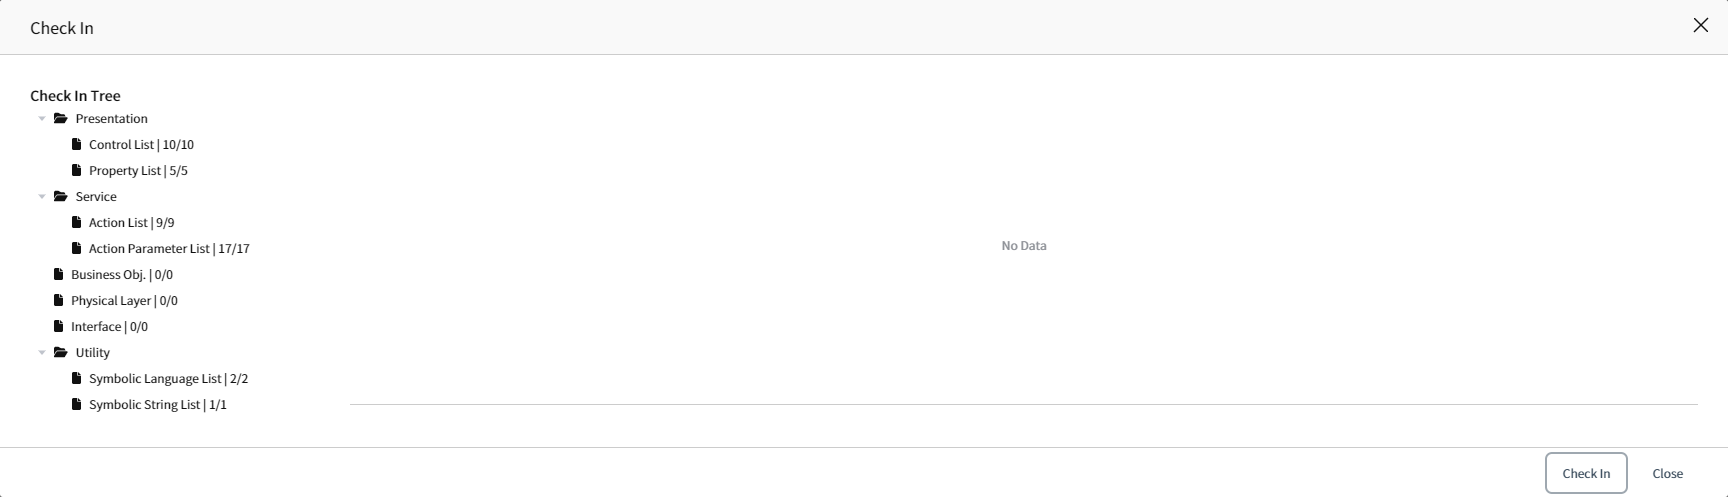
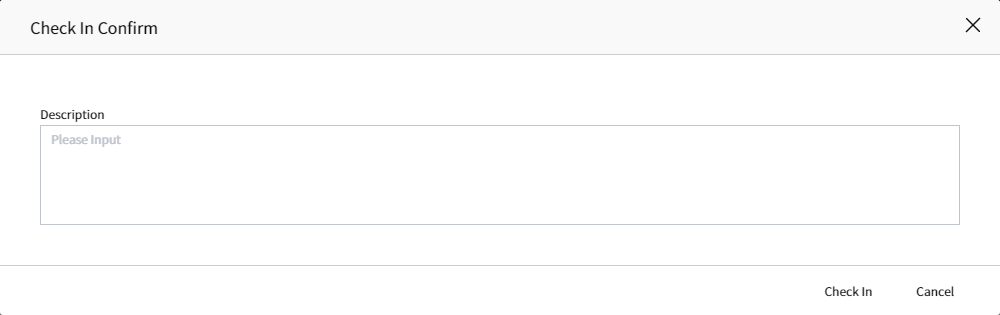
Write the details in the
Check InDescriptionand proceed with Check In.
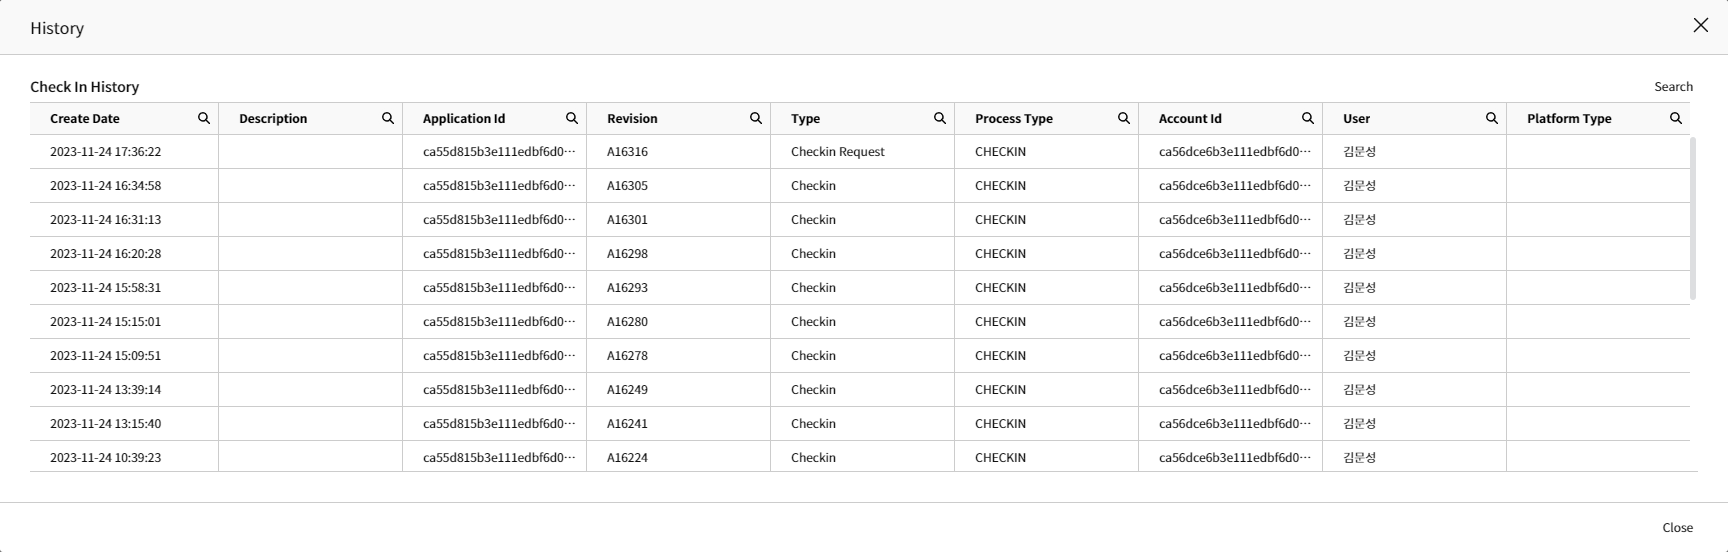
- Check your history The success message after Check-in does not necessarily mean that Check-in is complete. Check-in is processed asynchronously to consider cases where many Check-ins are carried out at once.
Therefore, after Check-in, check the completion status in Deploy > History > Check In History menu.
Check-in progress status is distinguished betweenRequest, indicating in progress, andCheck-in, indicating completion. Once Check-in is complete, it can be deployed.