CALS EXTENSION
1. System specification
- Operation system
- Windows, macOS, Linux
- Hardware specification
- Processor from 1.6GHZ
- From RAM 1GB
2. Explanation
- Below are several reasons for using the
extension.CALShave various lambdas to run lots of search, save, delete, etc., functions.- When creating a specific logic by
CALS, to develop functions difficult to develop by common lambda and config - Program extension is available for developer to create lambda used for
CALSdirectly. - You can use
extensionsand create and use custom lambda byJavaScript.
3. Installation
To install the
CALS extension, first of all, launch theVSCode.
After clicking on the
Extensionsmenu on the left side, searchcals-vscode-extensionand theninstallit.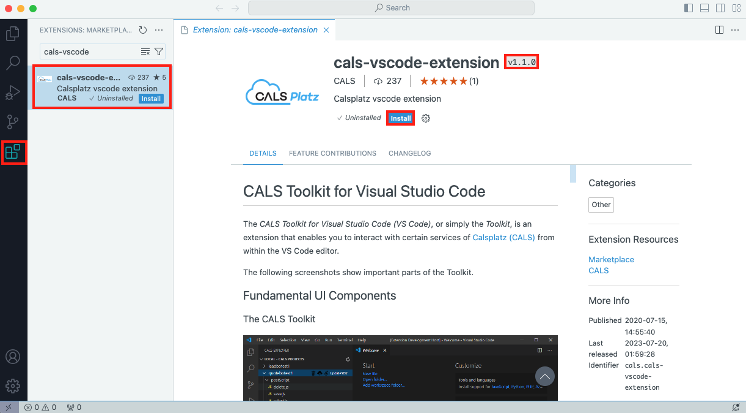
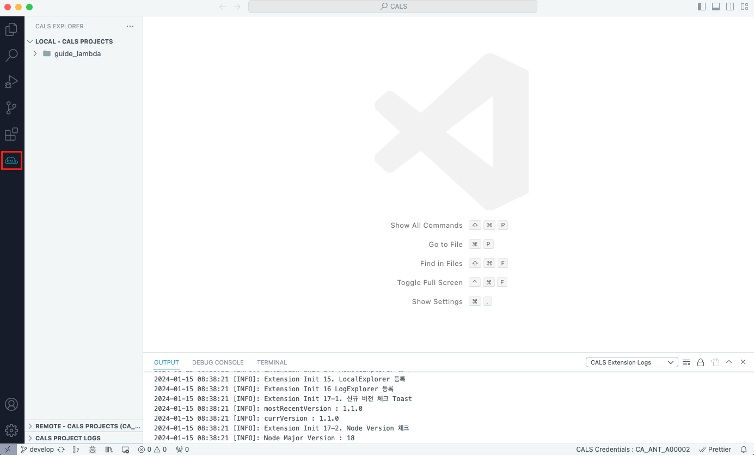
After completing the installation, click on the
CALS Explorermenu on the left side to access theExtension.
(※ When running extension in the first time after installation, an error can occurs due to missing credentials, guide for credentials is provided in 3-5)
If the installed version of
Node.jsis lower than18, the following error will occur. Please uninstall it and refer to this guide for installation.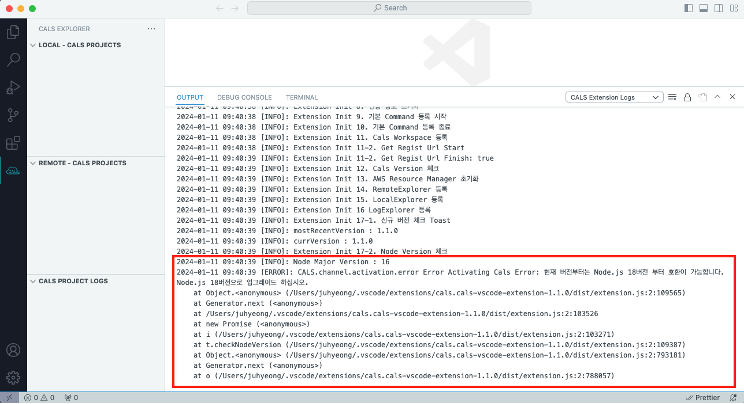
Click on
CALS Credentialsin the right bottom to start the credentials setup.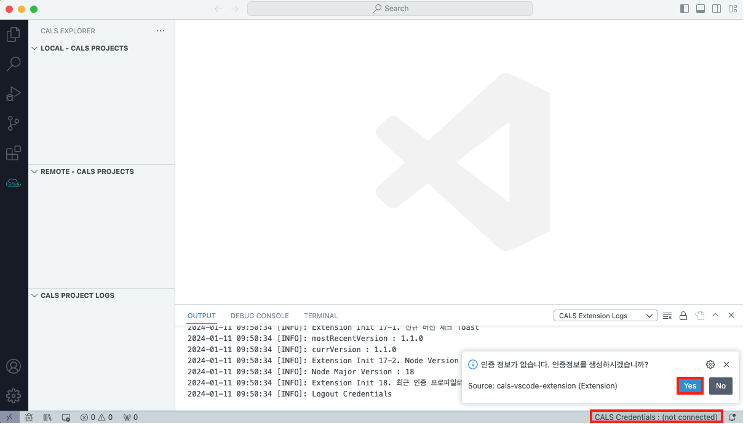
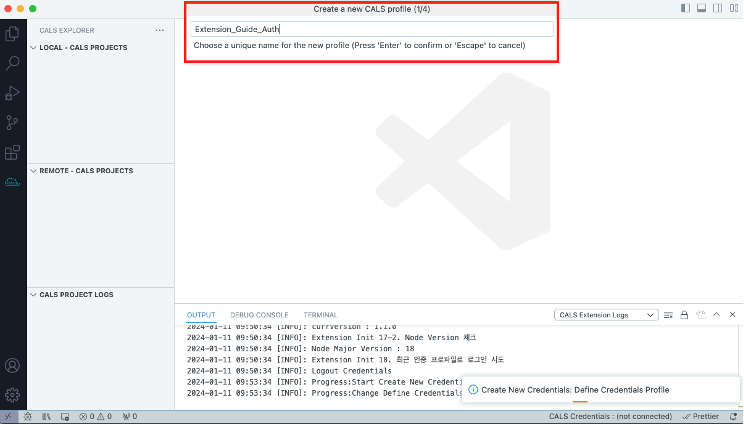
After confirming that the top popup window has appeared, enter the desired profile name.
(※ Recommend to input unique profile name for each developer)
Enter the
Access Keyreceived for theapplicationcreation request.(※ If you do not know Key, please ask Application managing person.)

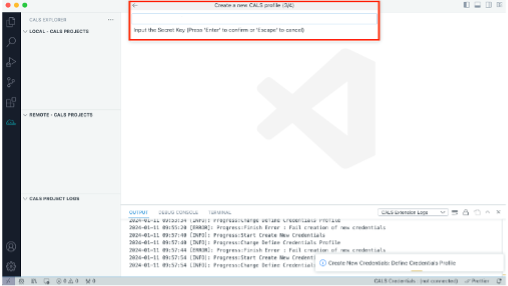
Input the
Secret Keyreceived for theapplicationcreation request.(※ If you do not know Key, please ask Application managing person.)
Input
Credential Keyreceived for theapplicationcreation request.(※ If you do not know Key, please ask Application managing person.)
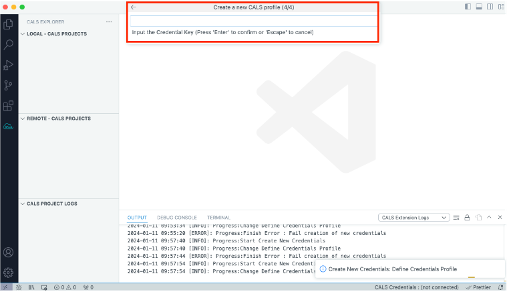
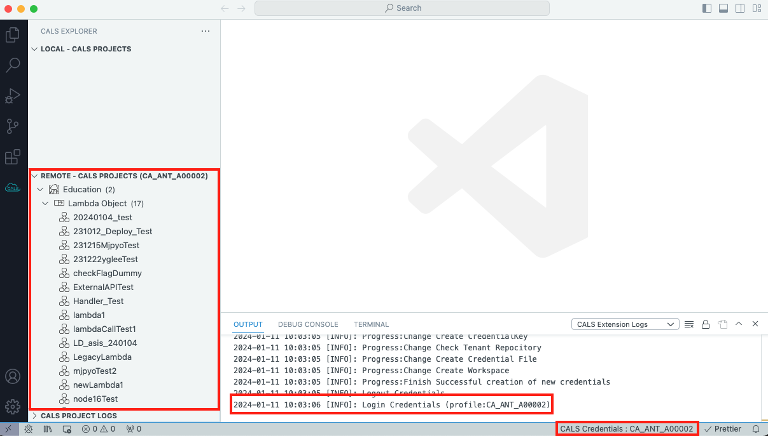
After entering all the keys and successfully completing the process, you will be able to see the
Lambda ObjectunderREMOTE – CALS PROJECTS, and the console window will confirm that you are logged in with the created profile name.