MySQL
1. System specification
- Operation system + Window, macOS, Linux
- Operation system + 2 Core CPU + 2GB RAM
2. Explanation
- Reason why we use this version in current guided document
- Support Amazon RDS and MySQL Community Edition version 8.0, 5.7
- In CALS, version 8 is used, so local version needs to be compatible to use.
3. Installation
After click on mysql download and access homepage, click on
Select Versionand then download latest version8.0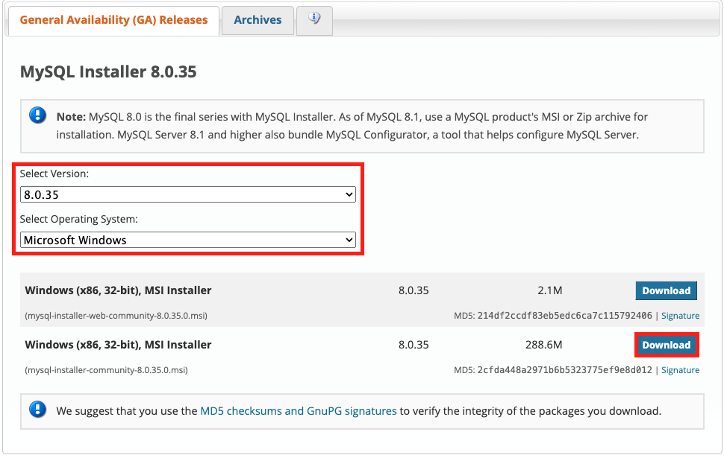
Run downloaded installation file, select
fulloptions and then click onNextbutton.
Developer Default : Install all products required for
MySQLdevelopmentServer only : Install
MySQLserver onlyClient Only : Install all product required for development except
MySQLserverFull : Install all product provided in
MySQL.Custom : can control over all packages that user want to install and installation path that user want to use.

Review the requirements and click the
Nextbutton to continue.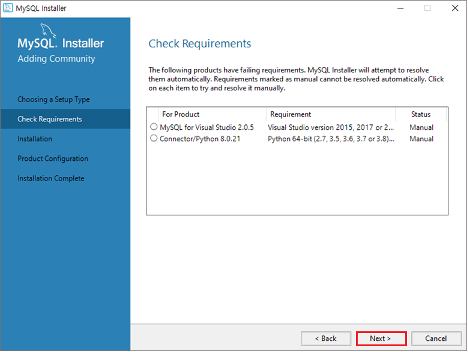
If a popup appears with the message
Product with missing requirements will not be installed or upgraded,click theYesbutton.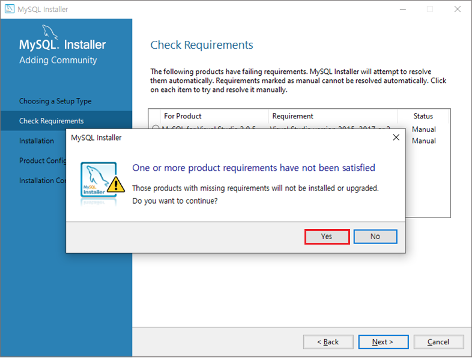
A list of packages to be installed will be displayed. Click
Executeto proceed with the installation.
Once the installation is complete, click the
Nextbutton to continue.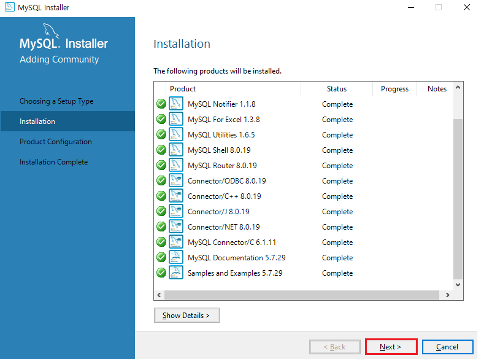
The following section displays the installation readiness status. Click the
Nextbutton to proceed.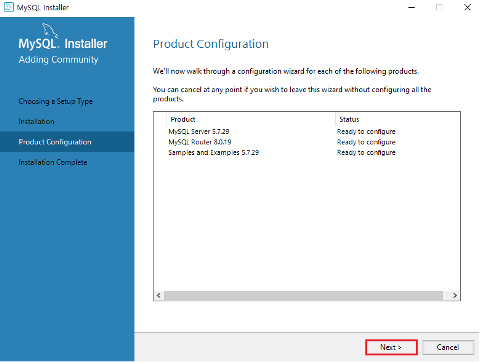
Verify that
Standalone MySQL Server / Classic MySQLis checked and click onNextbutton.
Standalone MySQL Server / Classic MySQL Replication : Configure initial of Standalone MySQL server.
Sandbox InnoDB Cluster Setup (for testing only) : create and configure
InnoDB Cluster Sandboinstance in local to test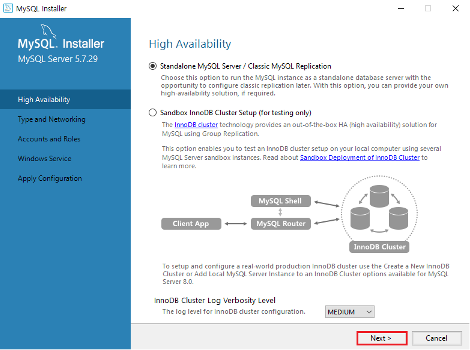
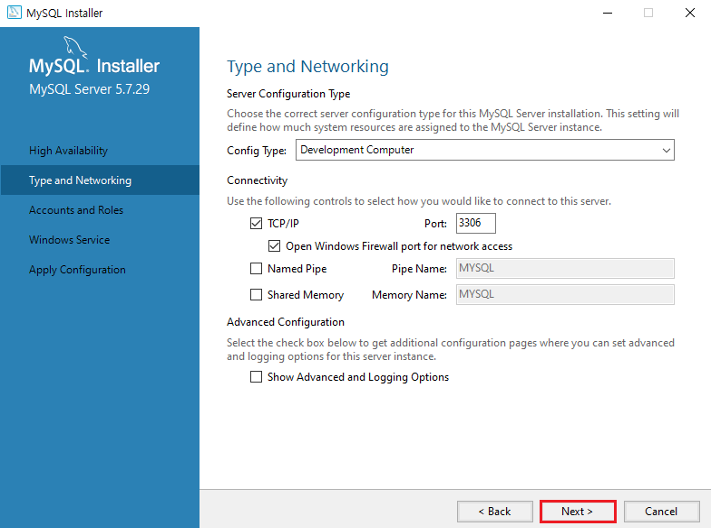
Check that Config Type is to Development Compute and then click on
Nextbutton.※ Port 3306 is default but can change into the type that you want to use.
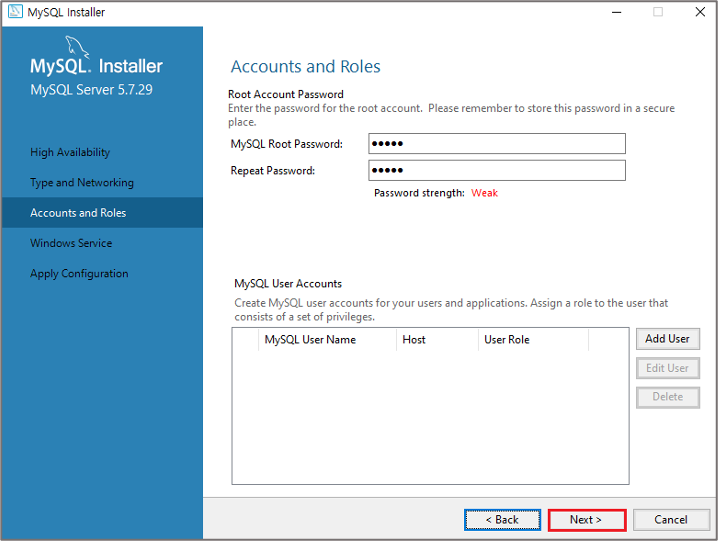
Set the initial password for
rootaccount, click onNextbutton.
If you choose a simple password, a warning that it may beweakin term of sercurity.
This setting window for registering in
Window serviceto run continuously in background.
Click on theNextbutton to set it as default.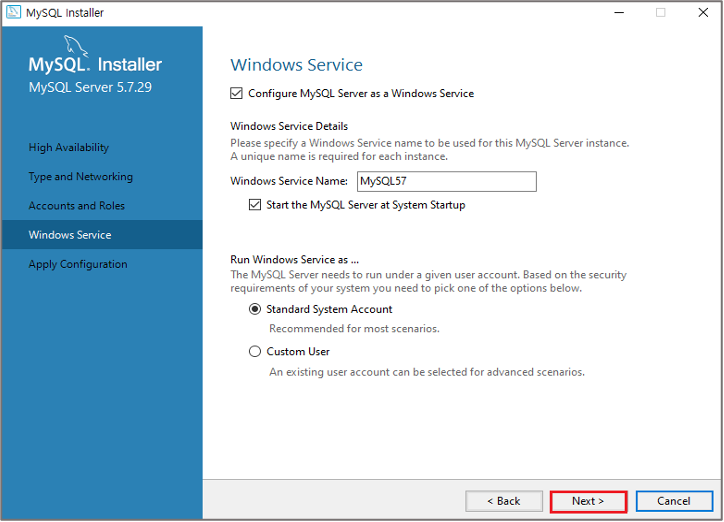
Click on
Executebutton and execute server configuration.

- Once the server configuration is finished, click on
Finishbutton.

The screen displays a list of product configuration. Click on
Nextbutton to continue.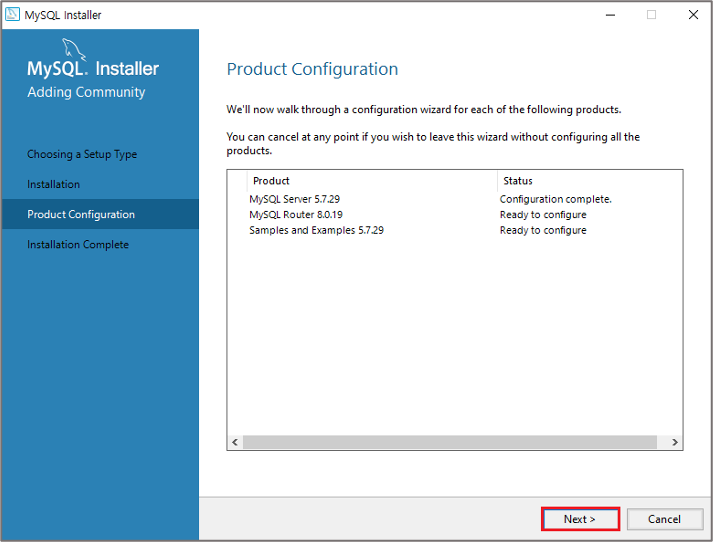
Input password configured in
rootaccount and click onCheckbutton.
After verifying successfully to MySQL Server, click on theNextbutton.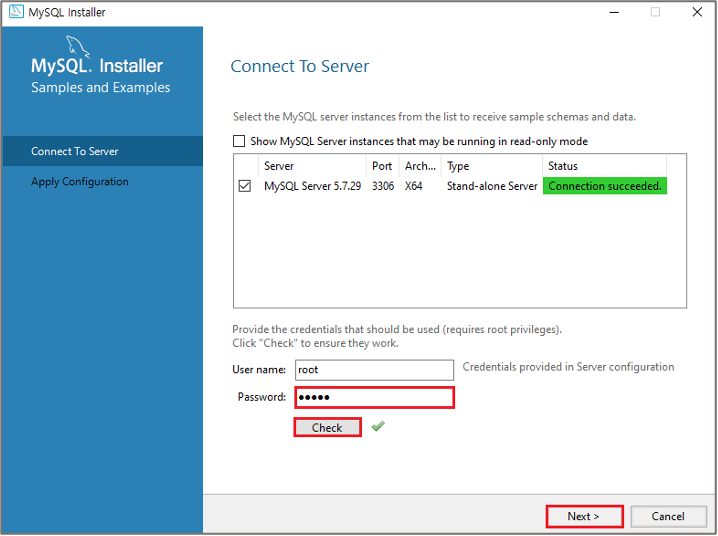
Click on
Executebutton to apply the option listed in Configuration Steps.

- Once the configuration is finished, click on
Finishbutton.

Once installation is finished, click on
Finishbutton.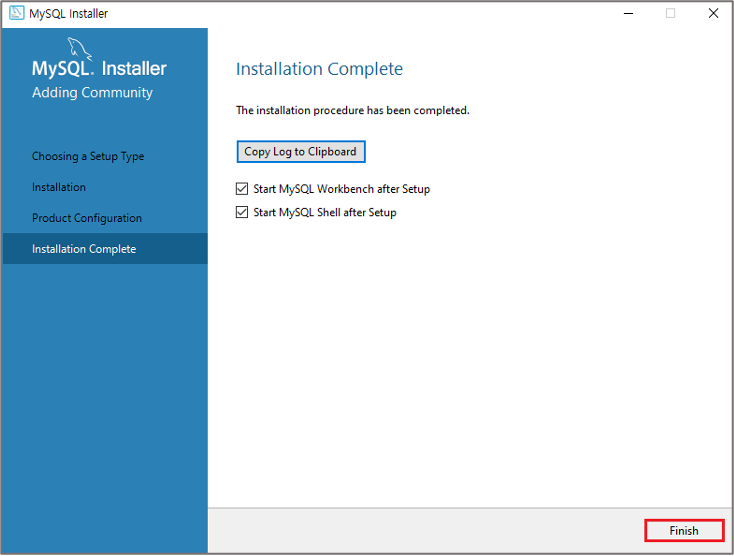
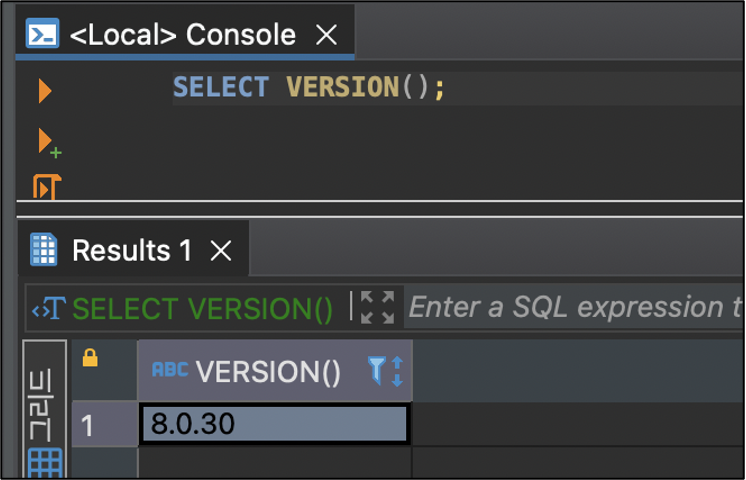
1.1. After that, connect to localhost with DB Client.
※ Guide document proceed with dbeaver.
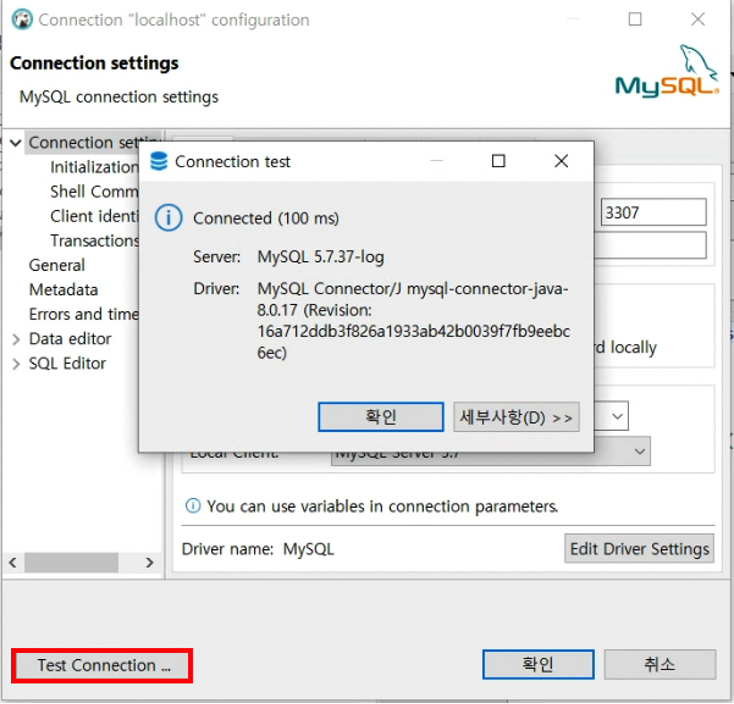
1.2. After establishing the connection, open editor and create following query. Execute it to verify that server is functioning properly.