VS CODE
1. System specification
- Operation system + Windows, macOS, Linux
- Hardware specification + Processor form 1.6GHZ + RAM 1GB
2. Explanation
- The reason for using VSCode in the current guide document.
- It allows the installation of simple CALS Extension and various program extensions through the marketplace.
3. Installation
Click on VSCode - download and access the homepage, click on the
Downloadbutton and receive the installation file.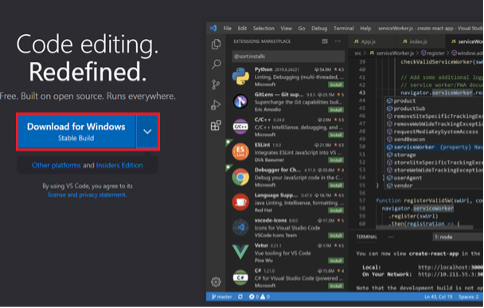
Click on the
Nextbutton to proceed after agreeing to the terms.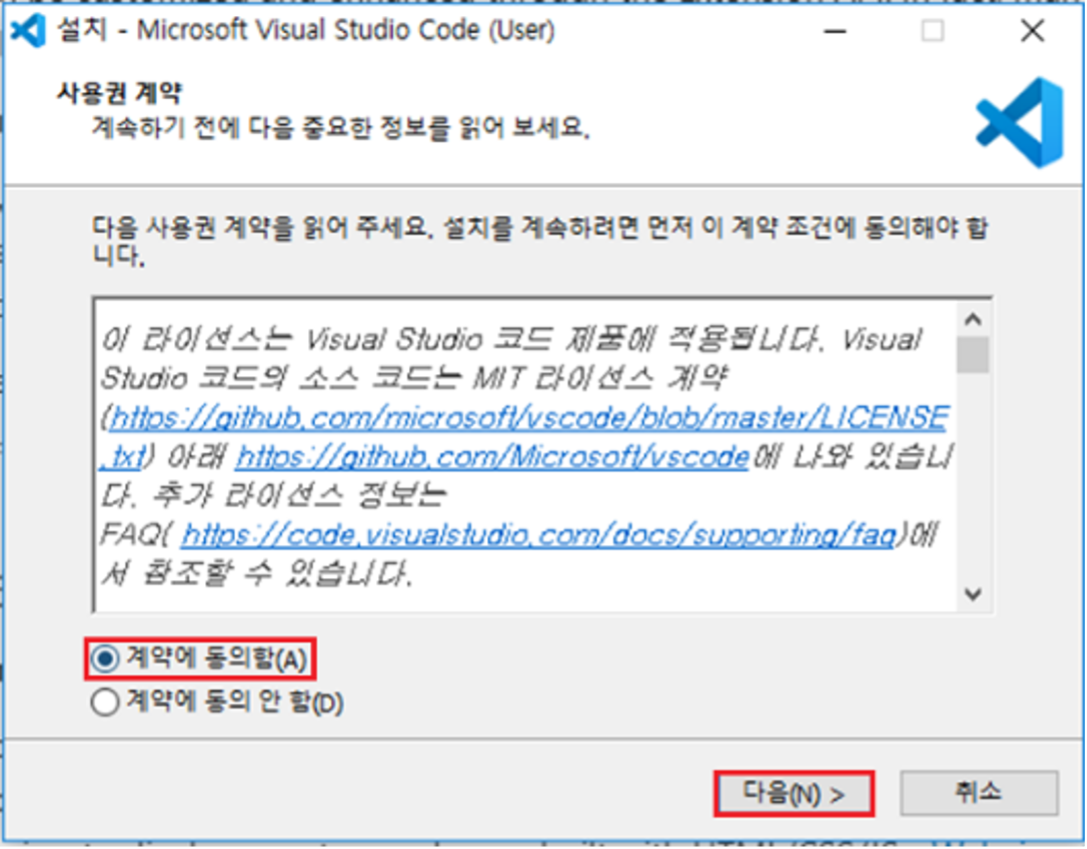
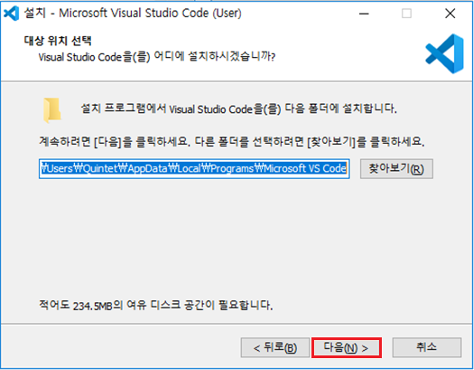
After setting the path, click on the
Nextbutton to proceed.(※ Guide document proceeds with default value)
After verifying whether to create a shortcut for the program, click the
Nextbutton to proceed.
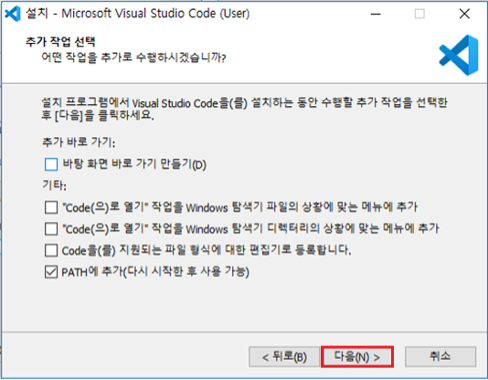
After selecting the preferred option, click on the
Nextbutton to proceed.※ Guide document proceeds with default configuration.
After checking the configured option, click on the
Installbutton to proceed.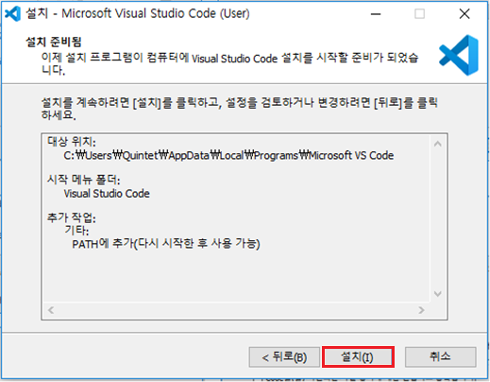
After confirming, select whether to run the program, then click the
Finishbutton to finalize the installation. That is all for the installation.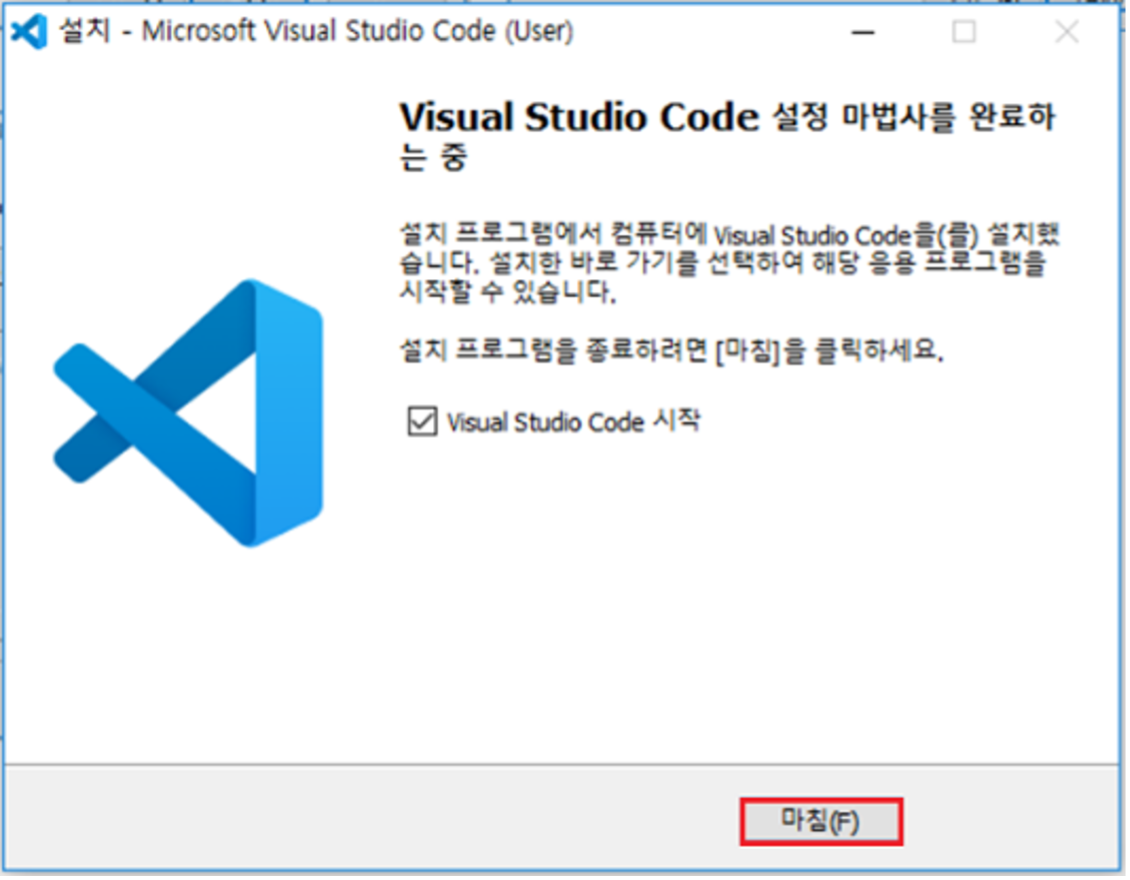
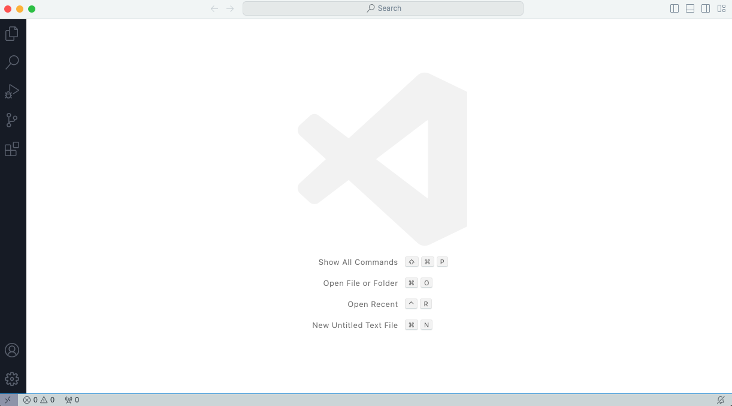
If you run VSCode after completing the installation, the following screen will be displayed.
(※ Because of OS version or another reason, the screen can be different a little bit.)